How to Install an Upgraded Headlight on the Talaria
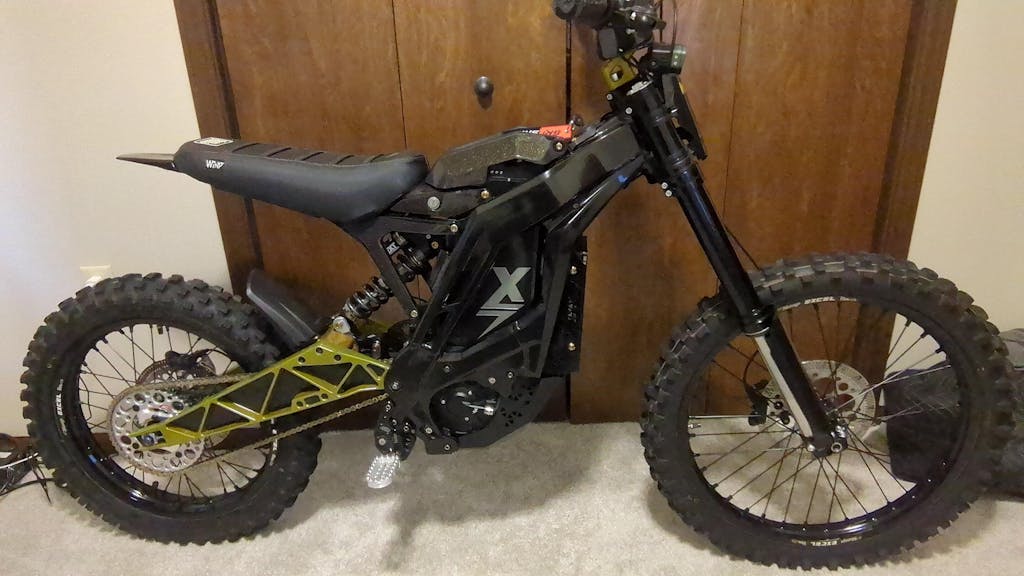
If you’re riding a Talaria Sting or XXX and love pushing your e-moto to the limit, you already know that stock lighting just doesn’t cut it. Whether you’re bombing through the woods at dusk or commuting in low-light conditions, upgrading your headlight isn’t just about aesthetics—it’s a performance necessity. In this guide, I’ll walk you through everything you need to know to install an upgraded headlight on your Talaria.
Why Upgrade Your Talaria’s Headlight?
Let’s face it—the factory headlight on most Talaria models is basic. It’ll get you by, but it’s not built for serious trail rides or night rides. A headlight upgrade improves visibility, giving you better reaction time, boosting overall safety, and making your ride look way more dialed in. Plus, a high-output LED light makes you more visible to others, which is crucial when riding urban or mixed-use trails.
Choosing the Right Talaria Headlight Upgrade
There are a ton of options out there—halogen, HID, LED—but for Talaria bikes, LED is hands-down the best choice. They’re brighter, more energy-efficient, and more durable. Look for models that are plug-and-play or come with a wiring harness designed for the Talaria Sting or XXX. TBElectricMoto has solid options that match OEM mounts and wiring. Pro tip: check out the Lights Collection for battle-tested options.
Tools and Parts You’ll Need
Upgrading your Talaria headlight is a pretty straightforward DIY job. Here’s what you’ll need:
-
Allen wrench set
-
Screwdrivers (Phillips and flathead)
-
Wire connectors or soldering kit (depending on headlight type)
-
Electrical tape or heat shrink tubing
-
Zip ties
Also, it’s worth exploring accessories in the Cockpit Collection to complement your headlight—things like mounts, switches, or even upgraded bars can make a difference.
Prepping Your Talaria for the Install
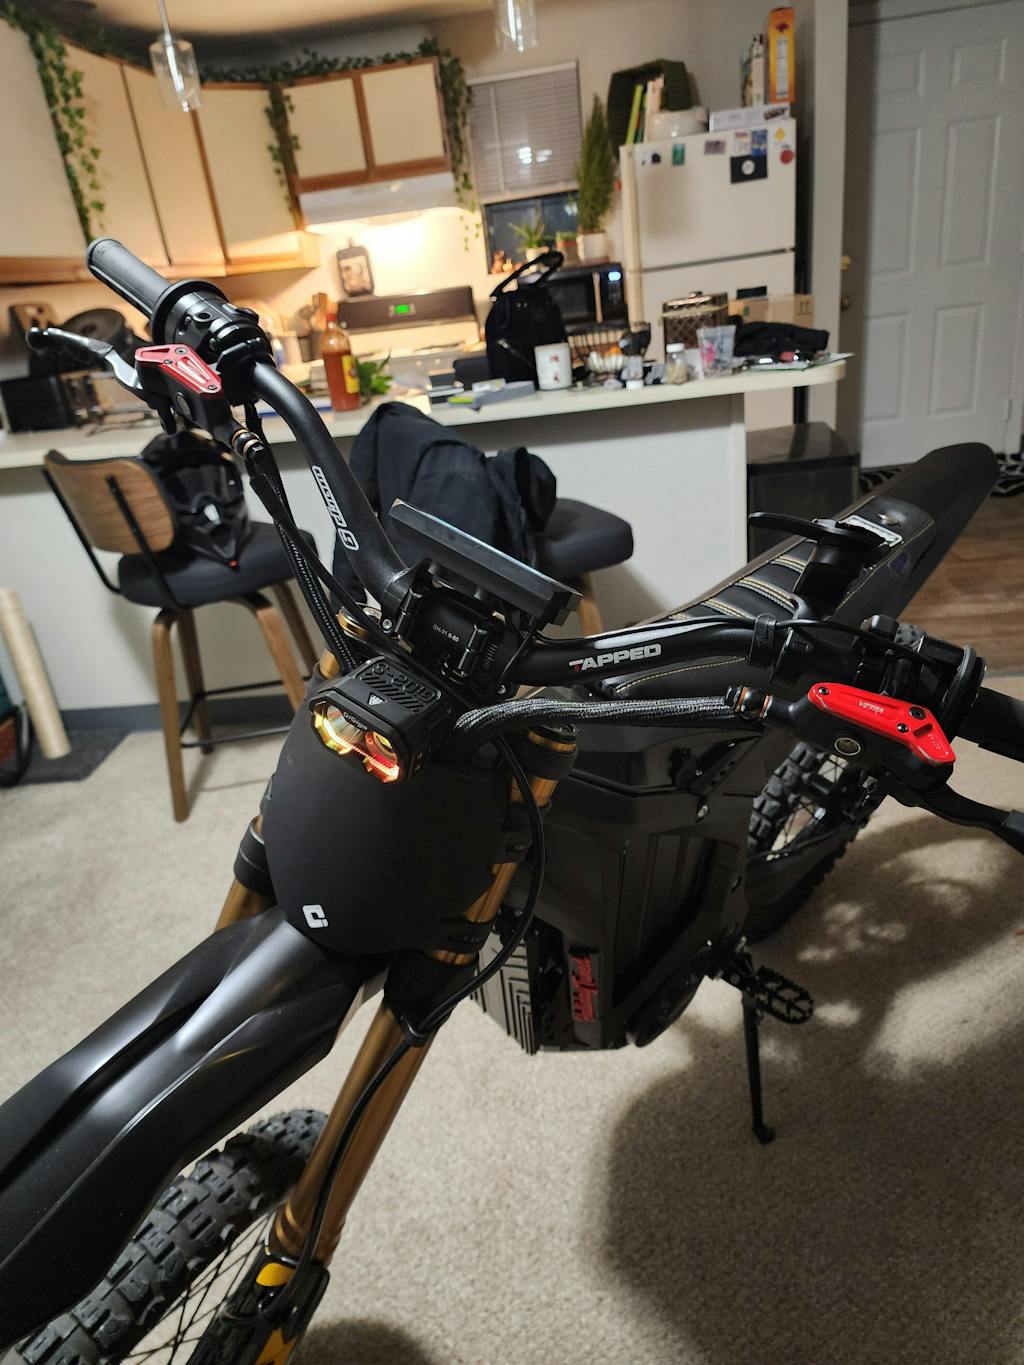
Before you dive in, safety first. Disconnect the battery to prevent short circuits or shocks. Remove the front fairing by loosening the mounting bolts. This will expose the headlight assembly and give you access to the wiring. Inspect the stock wiring harness—it’s helpful to snap a few reference photos before you start pulling things apart.
Step-by-Step Headlight Installation Guide
-
Remove the Stock Headlight: Use your Allen wrench to remove the headlight bolts. Carefully unplug the connector from the stock light.
-
Mount the New Light: Line up the new headlight with the existing mounts. Most aftermarket lights come with adjustable brackets—tighten everything down but leave room for beam alignment.
-
Wire it Up: Connect your new light to the existing harness. If it's a plug-and-play unit, you’re golden. If not, match the wires (usually black for ground, red for power) and use solder or quality connectors.
-
Test the Beam: Reconnect the battery and switch the headlight on. Check both low and high beams if applicable.
-
Secure and Clean Up: Tuck away extra wiring with zip ties. Make sure nothing is rubbing against the forks or frame.
Troubleshooting Common Issues
If your new headlight isn’t working, here are a few quick checks:
-
No Power? Double-check your ground wire and battery connection.
-
Flickering Light? This could mean a loose connector or voltage mismatch.
-
Blown Fuse? Check the fuse box if your Talaria has one, especially if the light pulls more current than the stock unit.
Performance and Aesthetic Benefits
The improvement is immediate. A high-output LED floods your path with bright, white light—perfect for technical trails or fast-flowing fire roads. On the looks side, a custom headlight gives your ride a more aggressive, dialed-in appearance. Pair it with other performance parts from TBElectricMoto like the Talaria Sting R MX4 or upgrades from the Power Controllers & Motors Collection for a complete setup.
Maintenance Tips for Your New Headlight
Even the best gear needs some TLC. Keep your headlight lens clean and avoid pressure washing directly into the housing. Every few rides, inspect the wiring for wear or loose connections. If you notice dimming or discoloration, it might be time to upgrade again or swap in a fresh LED unit.
Final Thoughts: Light the Trail Ahead
Upgrading your Talaria’s headlight is one of the most rewarding DIY mods you can do. It’s affordable, relatively easy, and delivers serious performance gains. Plus, it’s a great entry point if you’re getting into customizing your e-moto.
Explore More Talaria Upgrades at TBElectricMoto
If you're ready to keep the upgrades rolling, check out:
Every upgrade gets you closer to a ride that’s built for you. Dial it in, ride harder, and light up the trail.
FAQs
1. Do I need to splice wires for a Talaria headlight upgrade?
Many aftermarket lights are plug-and-play, but some high-performance units require basic wiring skills like splicing or soldering.
2. Will a headlight upgrade drain my battery faster?
Not if you choose an efficient LED model. In fact, many draw less power than the stock halogen bulb.
3. Is an upgraded headlight street-legal?
That depends on your local laws. Most LEDs are DOT-approved, but always double-check before riding on public roads.
4. Can I run dual headlights on my Talaria?
Yes, but you may need to upgrade your controller or power system. Check out the Power Controllers & Motors section for high-output options.
5. What’s the best headlight for Talaria night riding?
Look for LEDs in the 3000–5000 lumen range. These offer excellent coverage without blinding oncoming riders.
SEO Meta Titles (2 Options):
-
Talaria Headlight Upgrade: Step-by-Step Installation Guide
-
How to Upgrade Your Talaria Headlight for Better Night Riding
SEO Meta Descriptions (2 Options):
-
Learn how to install a Talaria headlight upgrade with our detailed DIY guide. Improve visibility, style, and performance with the right lighting setup.
-
Upgrading your Talaria headlight? This step-by-step guide covers tools, wiring, and top product picks to enhance your e-moto’s lighting performance.